
Scrap Mechanic the card game
by Chair_Alt
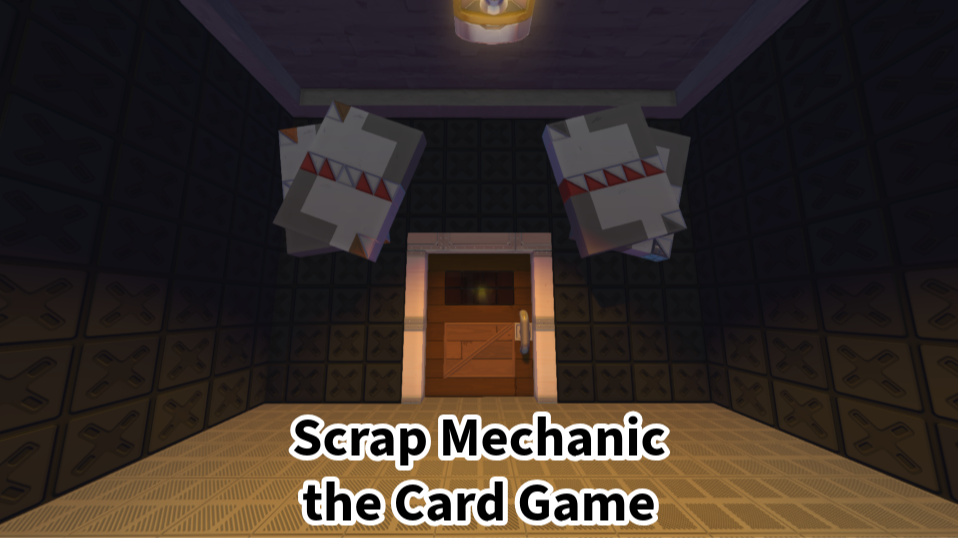
WARNING: This challenge map might be laggy on lower end computers. There are thousands of thousands of logic gates, and while I tried my best to optimize it, I suggest coming into this with a grain of salt. There will be visual bugs with the logic gates due to logic gate rendering distances. This is an in-game thing. There also could be a visual bug in multiplayer where anyone besides the host will be unable to see some logic gates even if they're turned on. This map is intended for 1-2 players. Where you can either play against a friend or an AI. Welcome to Scrap Mechanic the Card Game! A simple card game loosely related to Scrap Mechanic and largely inspired by INSCRIPTION. This is a concept I've been developing for a while and now it's in a state where I can let you all play it. There can still be bugs and edge cases that I wasn't able to test, but I tried my best to play test as much as possible and iron out the ones I could find. This game also has an AI that while not that smart can still get lucky and be particularly challenging. I hope you have fun and enjoy the game! As is customary of all card games, this one also has a whole novel for its instructions. Strap-in and I hope I can explain to the best of my abilities how this game works. Getting Started On spawn, you're going to be inside a small room with a door as shown in the thumbnail. This door is to prevent bugs due to the way that Scrap Mechanic loads players into maps. Due to the amount of logic gates in this map, Scrap Mechanic takes a while to calculate these connections. During this time players can still move around, however logic based events, such as turning on switches, and activating logic gates will not work. So if you find that the door isn't opening despite you using the switch, simply wait a second and try again as Scrap Mechanic wasn't ready to run the map yet. Spawn Room Once the door lets you out, you'll be put into the spawn room, or "main menu". It's a small cabin with a table lit in the center. This is the game table and where you'll start playing. Around the room there are only a few things which affect gameplay. These are the 2 boards that control the timers in game, and the switch for the single-player mode. The board that says "4 Min" controls the "Play" timer, which will be explained later on. To the right of it is the single-player switch which will activate the AI. On the right wall to that is the board that says "20 SC". This controls the Wait phase or the time between turns. Each board has buttons on them to change their respective settings. Once the players are ready they should stand on opposite sides of the table. Lights will shine above to indicate that the player slot is ready. For single-player, you should stand on the right side of the table as the left is automatically taken by the AI. The AI will automatically be ready. Once all players are ready, you are free to press the button on the table which will start the game and challenge. There are other secrets in the Spawn room which I'll allow you to discover on your own. But as a little hint, if you want to activate the AI's Hard-mode then you need to find the hidden switches around the room. You'll know you've activated Hard-mode when a skull drops down in the AI's spot. Stats meaning Cards have 4 stats. Damage. Health, Speed which determines if it goes first during scrap rounds, and Luck which determines the likelihood that the card crits dealing +1 to damage. For Bubble specifically, it has a chance to super crit dealing 4x damage. If you want to view the stats of all cards you can look to the left during play to see the stats of your selected card. If you unselect a color location you can then use the buttons below the display to use the handbook and see the stats of any card. Cards are organized into 3 categories: Resource Cards, Basic Damage Cards, and Upgraded Damage Cards. The only way to get Upgraded Cards is either from the starting hand or via crafting. Playing & Round 0 In the center of the play area is the main console. In the center of the console is the place button and the magenta button is the skip phase button. The other buttons around those correspond to other buttons around the room that let you navigate the board. The colored buttons are representative of your hand, and the columns on the game board. On the right hand wall you'll find the timer and the turn sequencer. If the light is orange then that means it's your turn. If it's white then that means it's the other player's turn. To begin the round will start in the Wait phase. After round 0 you'll be allowed to place any resource card, or heal during this phase. After the Wait phase it'll move into the Draw phase where the player can draw a card from the draw pile. The left pile is the damage card pile and the right is the resource card pile. Damage cards are the main source of damage while the resource cards are used for crafting and a temporary barrier to completely block attacks. During round 0 you're allowed to draw 2 cards of any type. After round 0 you are only allowed to draw 1 damage card or 2 resource cards. That is unless you have lower health in which case you'll be allowed to draw 2 damage cards. You can skip this phase if the magenta light is lit. After drawing you then move to the Play phase. Here you can first select your hand by pressing the green button and then using the arrows on the sides of your hand to cycle left and right. Your hand is on the bottom below the main board in the center. You're able to place your selected card when the place button lights up. When you press it you can then press the Red, Orange, or Yellow buttons to place it in that column. Otherwise press the place button again to cancel. You can also skip this phase with the magenta button. Once the Play phase ends the Scrap phase begins by moving all placed cards up if the above space is empty. On round 0 this phase is skipped to allow both players to place cards, but once both players place cards the scrap phase will continue as normal. Cards with higher speeds will go first and will be indicated with a white light on them. If both cards have the same speed then the turn is determined randomly. Cards that crit will be indicated with a blinking orange light. Sometimes if a card doesn't deal enough damage to kill, the damaged card can be put into a "Last Stand Mode" where it can still survive at 0 health. Once this phase ends the turn is over and the next player goes. Crafting Crafting recipes are shown above the large window. Crafting recipes are made up of a base material or the original damage card, an upgrade kit, and a resource card. The main crafting recipes are all shapeless meaning they can be placed in any order. The Craft button will light up when the required ingredients are placed on the lower part of the board together. The final result will be placed at the location of the base damage material. However any cards in the active line above the place line cannot be used for crafting. Healing You can heal yourself if you place 2 resource cards of the same type in the place line. The Heal button will light up if you are able to heal. You can also heal cards in the active line using their resource card matched with them in the crafting recipes. Place the resource card underneath the card in the active line, select the damage card by going up a row and then pressing the place button. This will consume the resource card below and heal the card. However if the card has 0 health then you won't be able to heal it. Scrapping Cards During the Play phase you can remove cards in the active line by pressing the scrap button on the left side by the selection viewer. First press the button and then press the color column you want to remove the card from. You can press the scrap button again to cancel.
Comments
0 total- No comments yet. Be first.